Those who have heard me speak know my disdain for traditional healing abutments. In fact, I have written on my blog several times about custom healing abutments. This time I want to share an actual clinical example that illustrates exactly what I am talking about.
The biggest restorative complaint from patients that I hear about implant crowns is food getting stuck. This can often be a result of less than ideal implant placement. However, this can also be a result of poor restoration design.
Stock healing abutments often lead us down a path to less than ideal emergence profiles. I very rarely find a molar that emerges from the tissue as a 5mm to 6mm circle. Once the tissue heals around these healing abutments the tissue form is then transferred to the laboratory via the impression.
The lab, in an effort to minimize delivery time, simply follows the healing abutment pattern for emergence profile. This then creates a restoration with less than ideal emergence that can lead to food getting trapped.
The solution is to either use custom ideal form healing abutments or to have the laboratory design the ideal emergence profile regardless. If you choose the latter be prepared to give the patient some anesthetic at delivery and likely have to make a tiny release in the tissue with a scalpel to deliver the restoration.
I placed this implant in an ideal position but used a stock healing abutment. The tissue information was transferred to the lab.
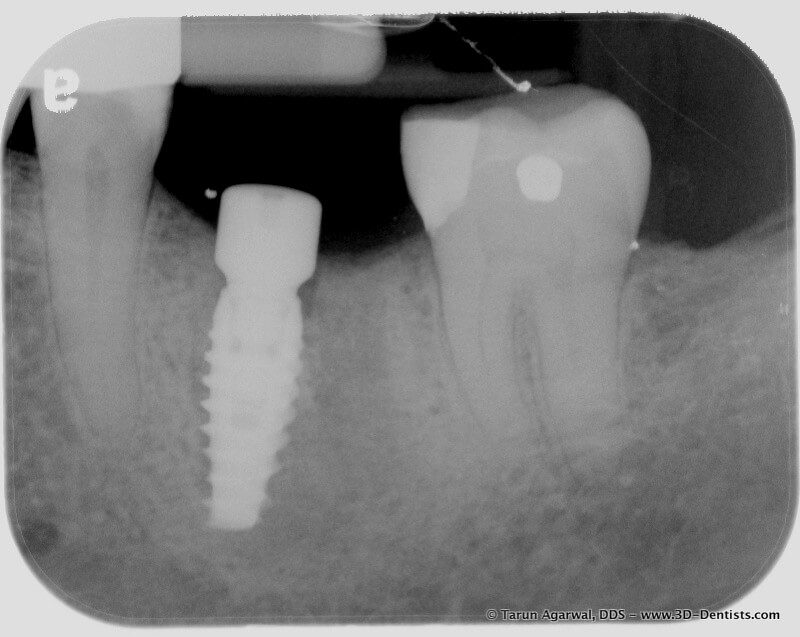
The lab then fabricated a restoration based on the tissue in my impression and the result was below.
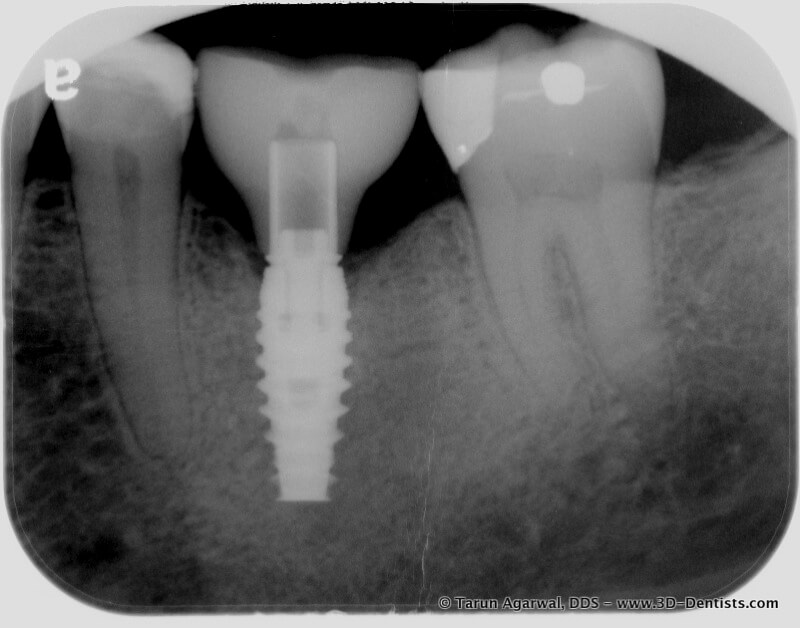
As you can imagine the emergence led to the patient getting food trapped. To fix this issue we placed a custom healing abutment to idealize the tissue emergence.

The restoration was then remade to this more idealized emergence profile. The result is below.
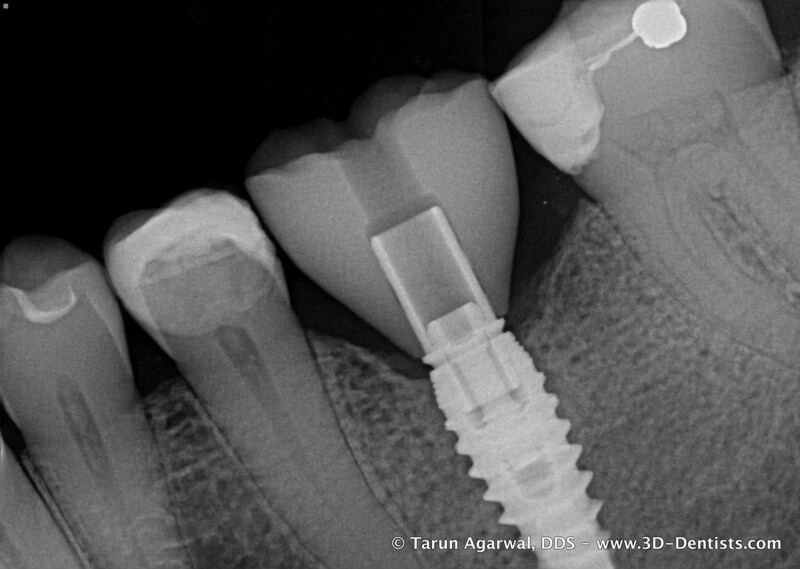
As you can imagine this solved the food trap issue.
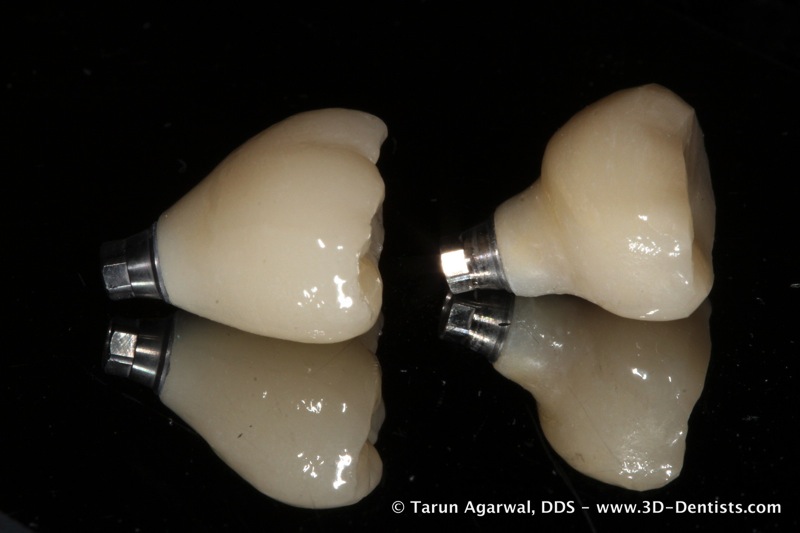
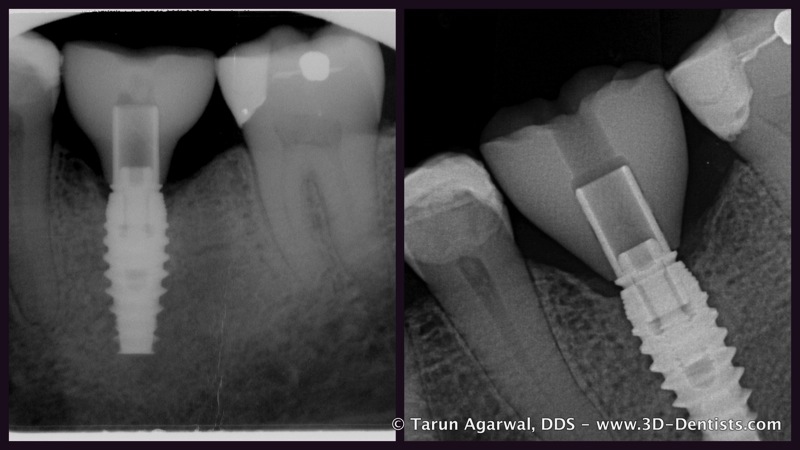
Here are the patients restorations side by side. You can clearly see the more ideal profile on the left vs the healing abutment profile on the right.
Here is a side by side radiograph.
Whether you are fabricating the restorations yourself with chair side CAD/CAM or working with your laboratory – please communicate and understand the ideal results. It’s a small task to give a little crestal anesthesia and make a quick tissue cut to ensure ideal results.
Hope you enjoy!
Click here to go to the original source.
